When you decide to build your own home, one of the first and most crucial decisions you will have to make is to choose the right professionals to help you – and we feel that the most critical is the self-build Architect… Ok, we would say that!
However, it is not an easy task to choose a specialist perfectly suited to your needs, coupled with the added pressure that this decision will be fundamental to your project’s success.
To help you with this process, we prepared three articles, in which we describe various stages of the co-operation between a self-builder and a self-build architect that are crucial to the success of your project.
The second article will provide details of the co-operation required with a self-build architect and the final will explain the costs associated with their fees. In this series we will give you our honest advice, we will even advise you on who you should interview!
In our previous article, we presented tips on how to choose the right self-build architect for your project. Now it is time to look closer at the co-operation between a self-builder and a self-build architect during the project. In this article, we will discuss the key stages of your project and how you will work with your self-build architect.
After you have conducted the initial interviews with potential candidates, and you have finally made the difficult decision on which architect best understands your vision and will be the best fit for your self-build, it is time to start working together and move on with your project.
In this article, we split the self-build architectural services into five stages, these must be completed in the right order – so you get the design you love and all of the important approvals. Please note that the stages may differ slightly depending on the architectural practice you work with. We have based this article on our tried and tested service…
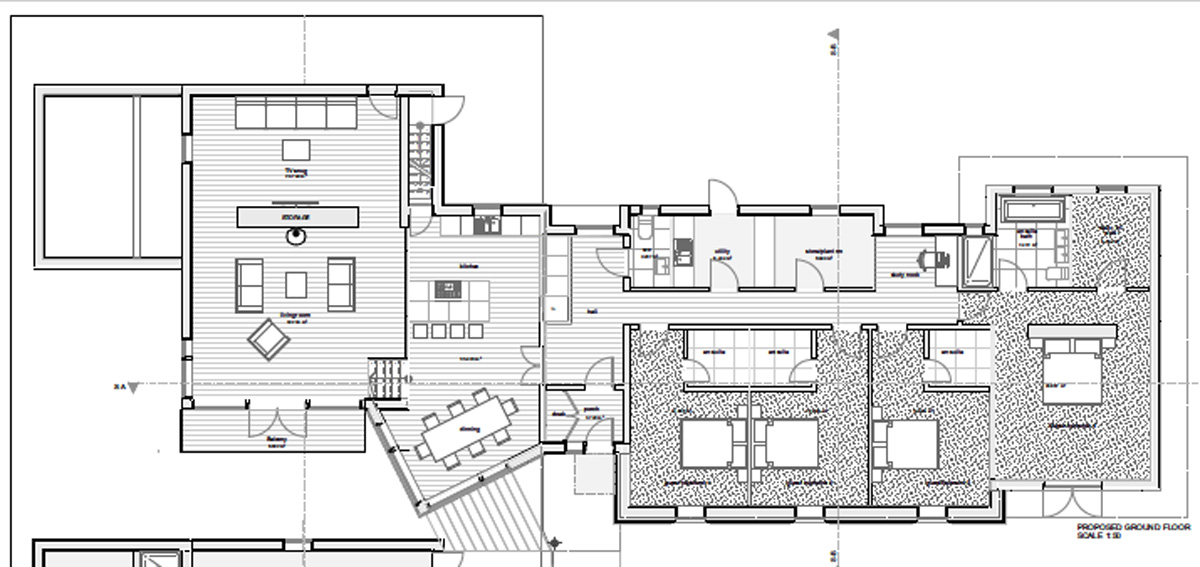
STAGE 1 – INITIAL DESIGN DEVELOPMENT
At the beginning of your work with the self-build architect, you need to create a detailed project brief in which you will specify all the features of your dream home. This document will be used and modified throughout the project. For more tips on creating your brief read our articles here and here.
Use platforms like Pinterest to gather the elements of the design that you like (and you do not like) and share them with your designer. It will give your architect an insight into your aesthetic preferences which will help them fully understand your vision, and prepare a design for your dream home. We not only advise our clients to prepare boards with design examples they like but also with the elements they do not like. Therefore we know what to avoid.
Once the architect has all of the information from you, they should complete a site visit to walk around the plot and get a feel for it. It is really important to see a site throughout a day, to get a feel for how the varying light travels around the site. It is also really important to look at neighbouring properties, first to see what impact they will have on the site (and what impact your future design will have on them) and secondly to get some local precedent to aid the planning process.
You should expect a good architect to provide at least 2 different designs, which satisfy your brief and make the most of the site. These options can be presented to you in 2D drawings, a 3D walk-through model or even using VR technology. The key to this process is that you are involved in the review of these designs – remember it is your house! Do not be worried if you do not like the designs. You will usually like bits from each design, these usually end up creating a 3rd hybrid solution.
We always expect to revise and refine these options 2 to 3 times, before we get a design which you love and can take on to the next stage.
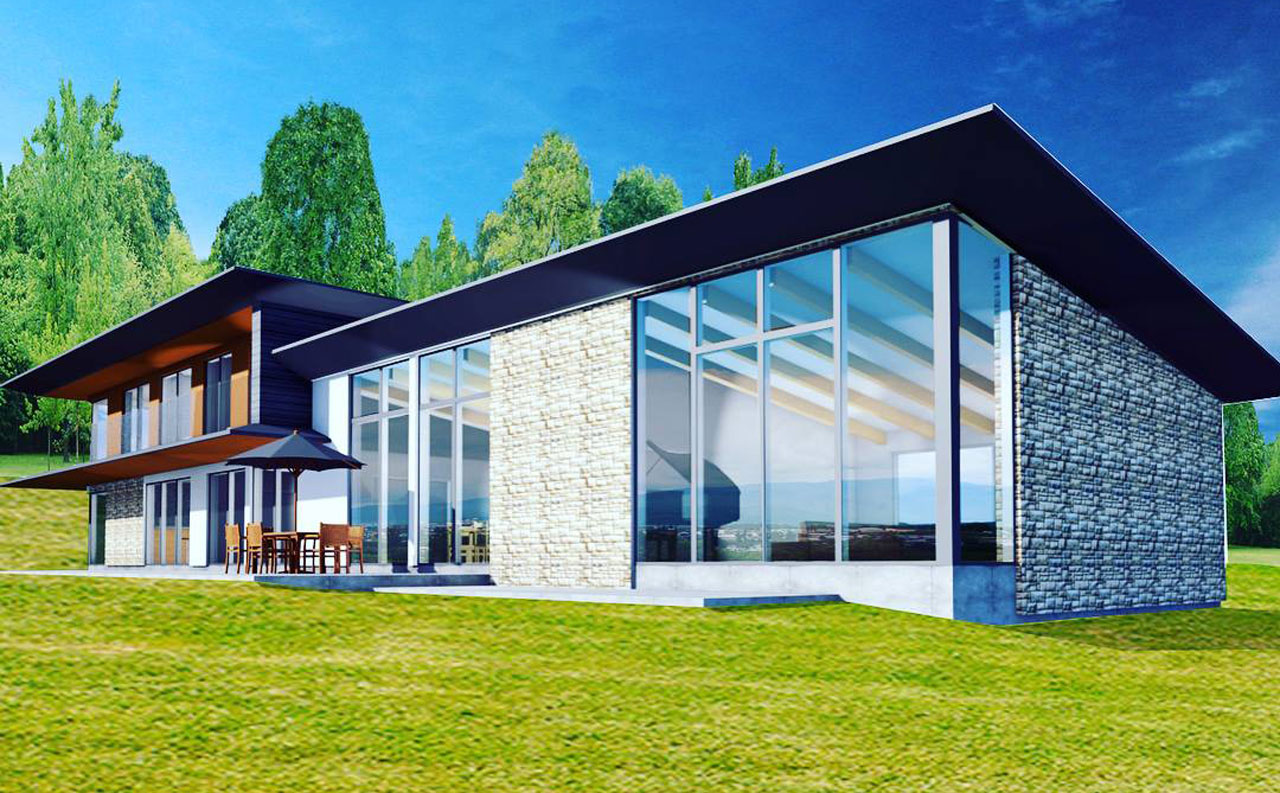
The last step is to complete pre-application discussions with the local planning department and review the hopefully positive feedback!
WHEN SHOULD WE MAKE PRE-APPLICATION PLANNING ENQUIRY?
If there are any contentious elements of planning such as housing in the countryside, green belt or flood area, or the project does not comply with Permitted Development regulations, it may be advised to go with pre-application planning enquiry or engage a planning consultant (read our article about engaging a planning consultant if you build in England/Scotland).
This is organised as early as possible within the initial design stage, in order to address all the potential problems the project may encounter. This is a cost-effective route and will give you a formal response from the planning team, some councils do not charge but some charge up to £160. The process usually takes between 4-6 weeks to complete and you should expect a written response or meeting.
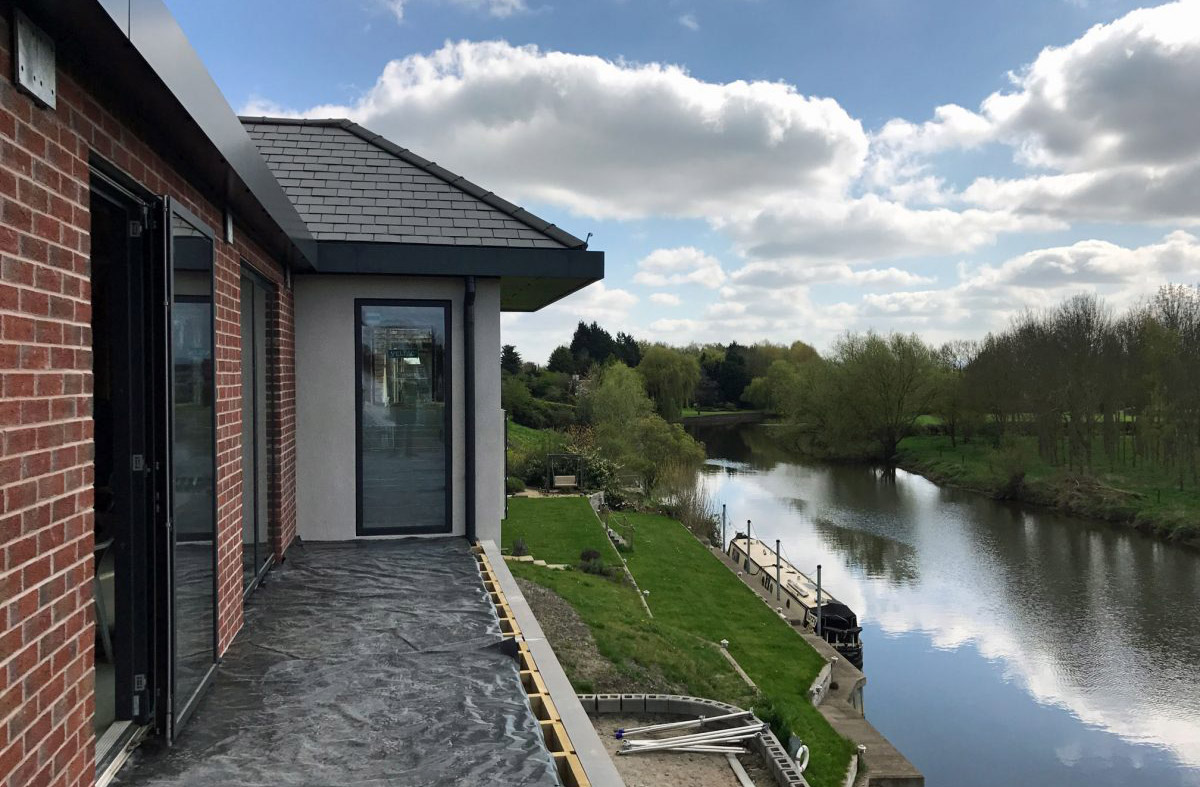
Building your own home is a challenging task to take on. An architects fee is a big investment for a self-builder, it is possible that circumstances can suddenly change. A result of this may be that the client is forced to delay or stop progress with their project completely.
If you appoint an RIBA or RIAS Chartered practice then they are obliged to stop your project at the end of a stage, if there is a problem, this gives you security and an exit – Make sure that your architect works this way too!
STAGE 2 – PLANNING SUBMISSION
When you are happy with the design of your future home, and any potential issues with the application are taken care of, your architect can start the planning submission process.
At this stage, all initial design drawings will be upgraded to planning level, including plans, sections and elevations and a BIMx model (if you go with us!) of your house will be prepared. This will enable you to simulate a walk around your home on your PC, iPad or even use VR goggles to maximise the experience in 3D (See the video below).
Before you commit to the planning application it is really important to complete an initial cost check with a contractor or a quantity surveyor. This will give you an indication of your budget, allowing you to make any final revisions to the design to adjust your budget.
Once you are happy with the basic drawings your architect should prepare rendered images, showing the proposed house within its surroundings. Any additional drawings and statements required to support your planning application, including the vitally important Design & Access Statement. To predict the energy performance of your future home we suggest a draft SAP calculation (or PHPP if you are going for a Passive house standard) exercise will is performed.
At the end of this stage, your planning application will be submitted and your architect will be responsible for dealing with any queries related to the application (Click here to read more about planning approval). The drawings should be completed within 3/4 weeks and your application will be reviewed in up to 8 weeks.
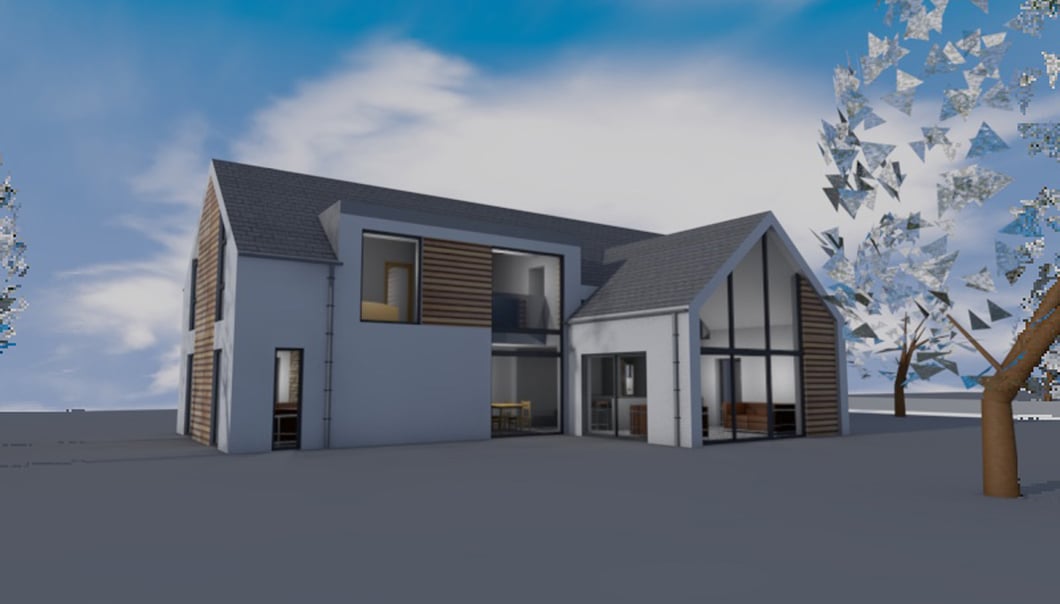
THE EXPERTISE IN ACHIEVING PLANNING APPROVAL
We would like to now address one of the frequently asked questions: does working with a local architect help you to achieve planning approval for your Self Build? In the past, it was a common practice for architects to have a good relationship with a planner and therefore be able to get plans approved. However, those times are gone, now it does not matter if you know a local planner or not.
A competent architect will know the planning policy of the area and will know what to do to maximise the chances of getting approval. 60% of our current projects are located from Birmingham-South and we have a 95% success rate! It is more important to work with the right professionals rather than someone purely based on geography.
If you want to help your architect and obviously yourself, you should do everything to get the planner and future neighbours on your side. It is important to make them feel that they are a part of the process. Take the drawings to your neighbours and make sure that they will not object to them before the planning submission, is submitted – its always best to take chocolate and wine, along with your drawings!
STAGE 3 – DETAIL DESIGN DEVELOPMENT
This stage will start with a full technical review and investigation of the various suitable construction methods that could be used for your Self-build. If you are interested in an energy-efficient home your architect will discuss renewable heating & cooling options – such as heat recovery technology, ground source or air source heat pumps. Read our articles on renewables here to learn more.
If you are interested in the installation of a Home Automation System, it is a good time to consider it at this stage (read more about Home Automation here). After the construction method is chosen, the detailed drawings for all of the main construction junctions and specifications will be completed. This is integrated with design information provided by the Structural Engineer (more information about Structural Engineering here).
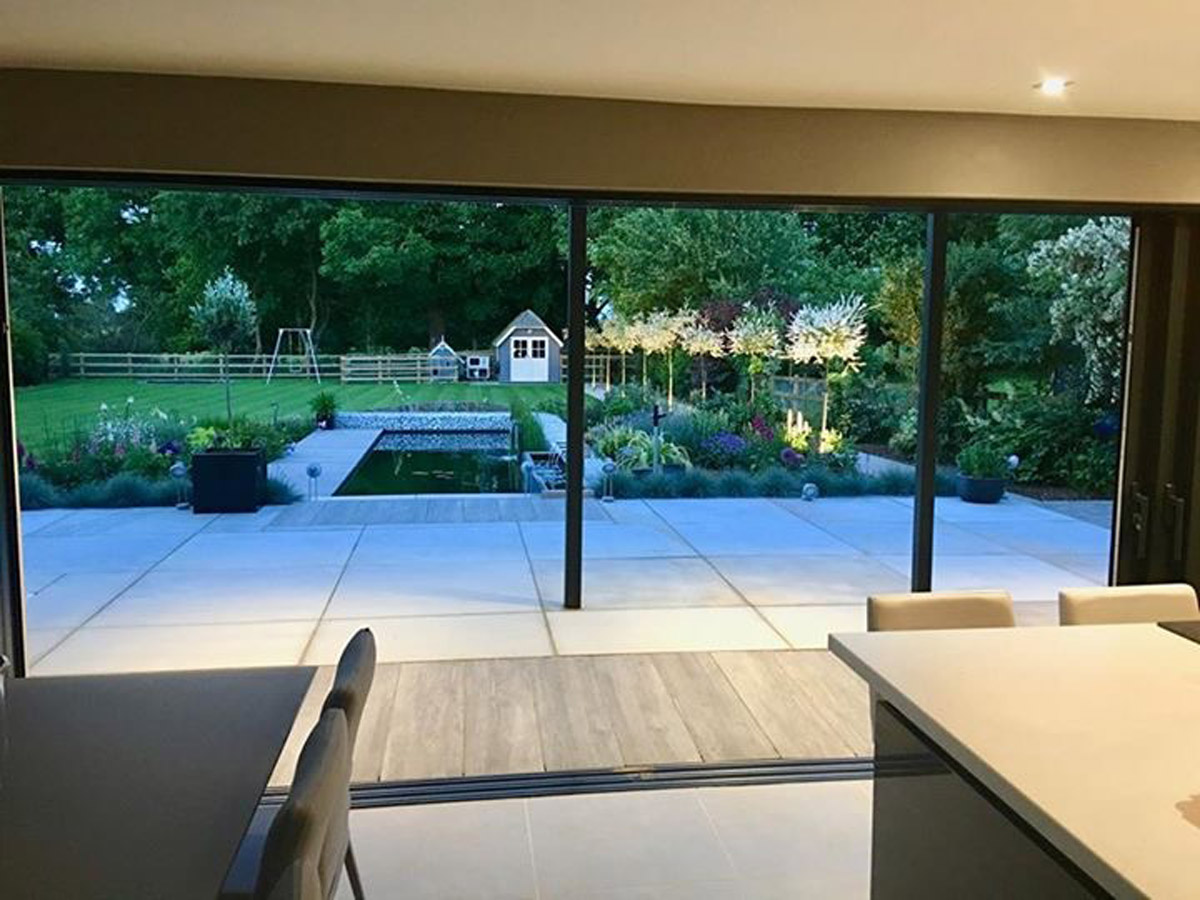
After the heating requirements and energy performance of the design are confirmed, the final SAP calculation exercise is performed. The result of this will give you an accurate prediction of your future house’s energy performance and a draft EPC will be issued.
At the end of this stage, the application consisting of building control drawings and specifications will be submitted in order to achieve building standards approval. This process looks slightly different in England and Scotland.
In England, you can obtain it from a local authority or a private certifier. After submission, you can start the work on-site immediately.
In Scotland, you apply only to your local authority and you have to get approval before starting the works on site. It usually takes 6 weeks to get the decision. It is a good practice, even when you build in England, to try to sort out everything before going on-site.
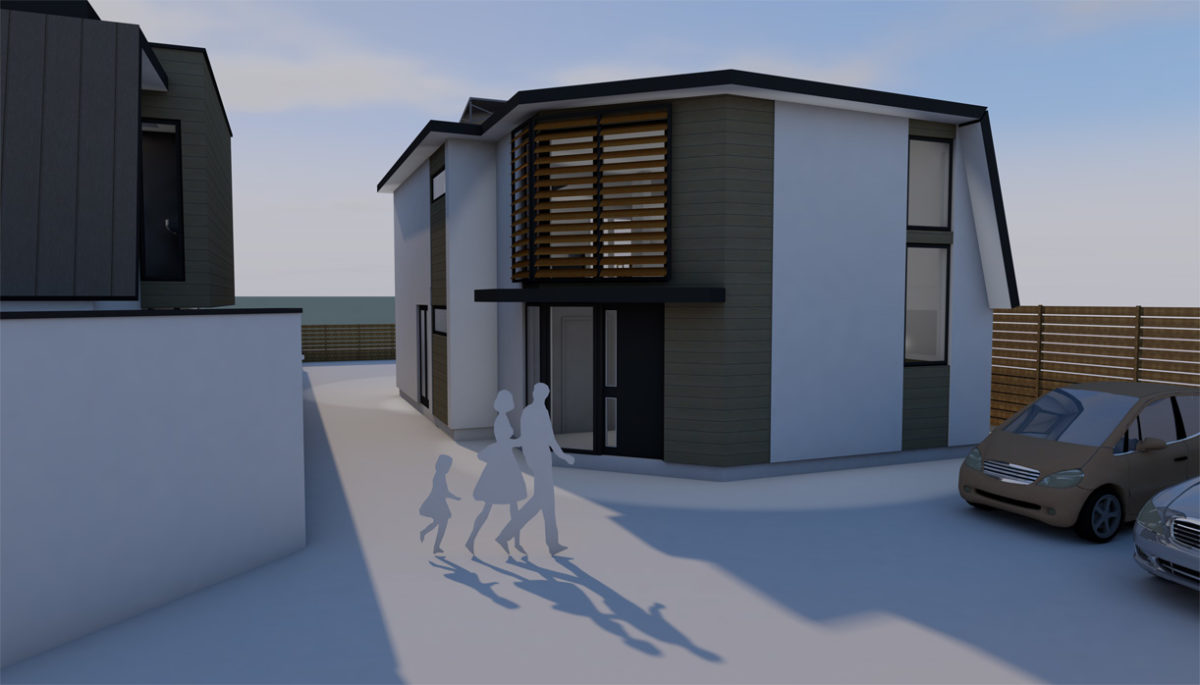
STAGE 4 – PRODUCTION INFORMATION
At this stage, your architect will create all construction drawings, specifications and schedules and will integrate them with the consultants’ design information. This will also need to include any ventilation, heating and a renewable solution you decided to implement in your home. If you are a self-builder, this construction information is vital to your project and is something that a lot of people miss out to save some money…. please do not do this!
The information provided to the authorities to achieve building regulations approval is not sufficient to build a full house (it is fine for a small extension). If you want to have a low-energy home, you need to think about all of the details and draw out every connection, if you don’t your house will not perform well.
Included in this stage is the preparation of a detailed set of schedules, these include a window & door schedule. This is a key document, that shows every opening and states the key information – including structural opening size, frame size, how it opens, colour and hardware. Please do not order your window and doors from a set of drawings, this will lead to very expensive mistakes.
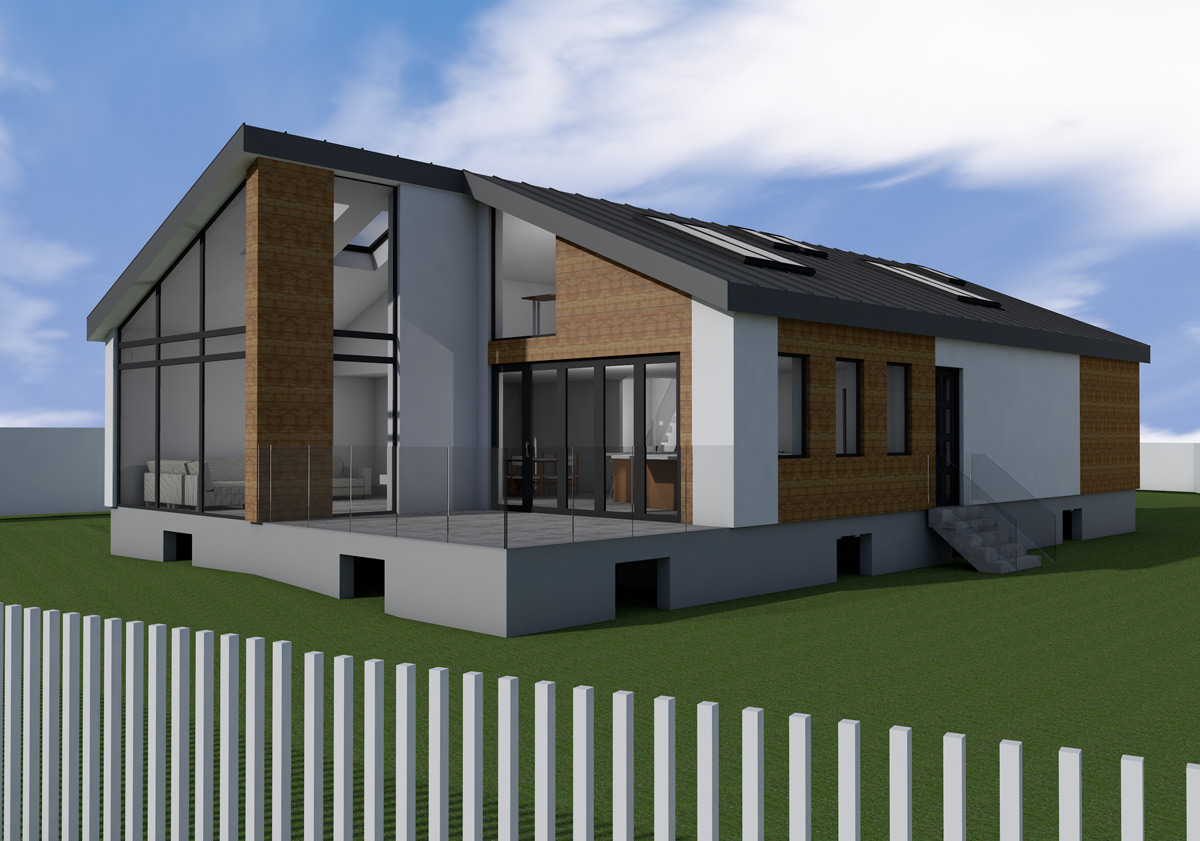
At the end of this stage, you will get the construction drawings, specifications and schedules from your architect. Following this, your architect will liaise with a Quantity Surveyor or contractor to provide an accurate final cost plan and may also assist you in interviewing and choosing suitable contractors.
STAGE 5 – ON SITE SUPERVISION
Once you have started on site you may be managing the build yourself or have a project manager – you may also decide to retain the services of your architect. We like to think that if an architect has provided the right information, then they shouldn’t be required (much) on site. One of the benefits of the building system in England is that you get supervision of your site from a building control inspector.
In Scotland, they may come and assess the work, at certain stages. Make sure that if you make any changes to the build you consult your design team, as you may not think of the impact of a change may make further down the build process.
It is a different situation when architects act on behalf of a mortgage company and provide an architect’s certificate or CML lending certificates. In this case, the architect is required to visit a site at the end of every stage to check whether the works are completed and to a suitable standard. Then they issue a certificate and a mortgage company releases the payment to contractors.
We hope that this article has given you an insight into what an architectural service should look like for your self-build project. Remember throughout, that you must be involved in reviewing all of the key information – remember it is your dream home and not your architects!
If your experience was different to this or you have any more questions do not hesitate to ask us in the comments section.


